Creating a Poll App in Django
Anthony Herbert
Get the code for this article here
You can watch this video version of this article below.
Today we're going to build a poll app using Django. We only need Django for this project, so as long as you're a little bit familiar with Python and Django, you can complete this tutorial.
What We'll Build
We'll have a simple poll app where users can create polls, vote in polls, and view poll results.
Directory Structure
Here's what the directory structure of the files we modify will look like when we're done. Django will generate most of the files for us, but we'll have to add a couple.
poll/
poll/static/style.css
poll/templates/poll/base.html
poll/templates/poll/home.html
poll/templates/poll/create.html
poll/templates/poll/vote.html
poll/templates/poll/results.html
poll/forms.py
poll/models.py
poll/views.py
poll_project/
poll_project/settings.py
poll_project/urls.py
db.sqlite3
manage.py
Set Up The Project
Let's get started by installing Django and starting up our project. I already have a folder created with a virtual environment ready to go.
First we need to install Django and then we need to create a Django project.
pip install django
django-admin startproject poll_project
Now that our project has been created, let's create an app for our poll. We can call this app: poll.
cd poll_project
python manage.py startapp poll
We can then open up the poll_project/settings.py file and add poll to the list of apps.
# settings.py
INSTALLED_APPS = [
    'django.contrib.admin',
    'django.contrib.auth',
    'django.contrib.contenttypes',
    'django.contrib.sessions',
    'django.contrib.messages',
    'django.contrib.staticfiles',
    'poll',
]
And finally, let's go ahead and migrate the existing migrations. We won't be using any of them, but we'll migrate just to get rid of the warnings later.
python manage.py migrate
Creating the Views
The first thing we can do is create all the views we'll need to display the templates. Since this tutorial isn't about writing HTML, I have already supplied the HTML we need. There are only five HTML files, including the base template. We only need one CSS file for the style.
Let's create a directory in poll called templates and another inside of that called poll and then add the following five HTML files.
<!-- base.html -->
{% load static %}

<!DOCTYPE html>
<html lang="en">
    <head>
        <meta charset="utf-8">
        <meta http-equiv="content-type" content="text/html; charset=UTF-8">
        <meta name="viewport" content="width=device-width, initial-scale=1">
        <title>{% block title %}{% endblock %}</title>

        <!-- Bootstrap CSS -->
        <link rel="stylesheet" href="https://maxcdn.bootstrapcdn.com/bootstrap/3.3.7/css/bootstrap.min.css" integrity="sha384-BVYiiSIFeK1dGmJRAkycuHAHRg32OmUcww7on3RYdg4Va+PmSTsz/K68vbdEjh4u" crossorigin="anonymous">
        <link rel="stylesheet" type="text/css" href="{% static 'style.css' %}" />

    </head>
    <body>
        <nav class="navbar navbar-default" role="navigation">
            <div class="container">
                <!-- Brand and toggle get grouped for better mobile display -->
                <div class="navbar-header">
                    <button type="button" class="navbar-toggle" data-toggle="collapse" data-target=".navbar-ex1-collapse">
                        <span class="sr-only">Toggle navigation</span>
                        <span class="icon-bar"></span>
                        <span class="icon-bar"></span>
                        <span class="icon-bar"></span>
                    </button>
                    <a class="navbar-brand" href="#">Poll Application</a>
                </div>

                <!-- Collect the nav links, forms, and other content for toggling -->
                <div class="collapse navbar-collapse navbar-ex1-collapse">
                    <ul class="nav navbar-nav">
                        <li><a href="#">Home</a></li>
                        <li><a href="#">Create</a></li>
                    </ul>
                </div><!-- /.navbar-collapse -->
            </div>
        </nav>

        <div class="container">
            {% block main %}{% endblock %}
        </div>

    </body>
</html>
<!-- home.html -->
{% extends "poll/base.html" %}
{% block title %}Homepage{% endblock %}
{% block main %}
<div class="row">
<div class="col-lg-8 col-lg-offset-2">
<div class="panel panel-default">
<div class="panel-heading">
<h3 class="panel-title">Available Polls</h3>
</div>
<ul class="list-group">
<li class="list-group-item">
<strong>Which language is easier to learn?</strong>
<span class="pull-right">
<a href="#" class="btn btn-info btn-xs">Vote</a>
<a href="#" class="btn btn-default btn-xs">View Results</a>
</span>
</li>
<li class="list-group-item">
<strong>Which operating system do you use?</strong>
<span class="pull-right">
<a href="#" class="btn btn-info btn-xs">Vote</a>
<a href="#" class="btn btn-default btn-xs">View Results</a>
</span>
</li>
</ul>
</div>
</div>
</div>
{% endblock %}
<!-- create.html -->
{% extends "poll/base.html" %}

{% block title %}Create Poll{% endblock %}

{% block main %}
<div class="row">
    <div class="col-lg-8 col-lg-offset-2">
        <div class="panel panel-default">
            <div class="panel-heading">
                <h3 class="panel-title">Create A New Poll</h3>
            </div>

            <form method="POST">
                <div class="panel-body">
                    <div class="row">
                        <div class="col-lg-12">
                            <div class="form-group">
                                <label for="question">Enter Poll Question</label>
                                <textarea name="question" id="question" class="form-control" rows="3"></textarea>
                            </div>
                        </div>
                    </div>

                    <div class="row">
                        <div class="col-lg-4">
                            <div class="form-group">
                                <label for="option1">Option 1</label>
                                <input type="text" name="option1" id="option1" class="form-control" placeholder="Enter option 1" />
                            </div>
                        </div>
                        <div class="col-lg-4">
                            <div class="form-group">
                                <label for="option2">Option 2</label>
                                <input type="text" name="option2" id="option2" class="form-control" placeholder="Enter option 2" />
                            </div>
                        </div>
                        <div class="col-lg-4">
                            <div class="form-group">
                                <label for="option3">Option 3</label>
                                <input type="text" name="option3" id="option3" class="form-control" placeholder="Enter option 3" />
                            </div>
                        </div>
                    </div>

                    <div class="row">
                        <hr />
                        <div class="col-lg-4">
                            <button type="submit" class="btn btn-info">Submit</button>
                        </div>
                    </div>
                </div>
            </form>

        </div>
    </div>
</div>
{% endblock %}
<!-- results.html -->
{% extends "poll/base.html" %}
{% block title %}Results{% endblock %}
{% block main %}
<div class="row">
<div class="col-lg-8 col-lg-offset-2">
<div class="panel panel-default">
<div class="panel-heading">
<h3 class="panel-title">Poll Result</h3>
</div>
<div class="panel-body">
<h3>Which language is easier to learn?</h3>
</div>
<ul class="list-group">
<li class="list-group-item">Python — <strong>3</strong></li>
<li class="list-group-item">JavaScript — <strong>3</strong></li>
<li class="list-group-item">Swift — <strong>4</strong></li>
</ul>
<div class="panel-footer">
Total — <strong>10</strong>
</div>
</div>
</div>
</div>
{% endblock %}
<!-- vote.html -->
{% extends "poll/base.html" %}
{% block title %}Vote{% endblock %}
{% block main %}
<div class="row">
<div class="col-lg-8 col-lg-offset-2">
<div class="panel panel-default">
<div class="panel-heading">
<h3 class="panel-title">Cast Your Vote</h3>
</div>
<div class="panel-body">
<div class="row">
<div class="col-lg-12">
<h2>Which language is easier to learn?</h2>
</div>
</div>
<div class="row">
<div class="col-lg-12">
<hr />
<form method="POST">
<div class="form-group">
<div class="radio">
<label>
<input type="radio" name="poll" value="option1" required>
Python
</label>
<label>
<input type="radio" name="poll" value="option2">
JavaScript
</label>
<label>
<input type="radio" name="poll" value="option3">
Swift
</label>
</div>
</div>
<hr />
<button type="submit" class="btn btn-info">
Submit
</button>
</form>
</div>
</div>
</div>
</div>
</div>
</div>
{% endblock %}
For the style.css, we need to put it in a directory directory. It can be put it in a directory called poll/static.
/* style.css */
.navbar-default, .btn, .form-control, .panel {
    border-radius: 0;
}
.navbar-default {
    background-color: rgba(245, 245, 220, .7);
    border-color: rgba(245, 245, 220, .6);
    box-shadow: 0px 3px 3px 0px #ddd;
}
.navbar-default .navbar-nav>.active>a,
.navbar-default .navbar-nav>.active>a:focus,
.navbar-default .navbar-nav>.active>a:hover {
    background-color: rgba(245, 245, 220, .9);
    border-bottom: 4px solid #ddd;
}
.panel-default > .panel-heading {
    color: #333;
    background-color: rgba(245, 245, 220, .7);
    border-color: rgba(245, 245, 220, .6);
    border-top-left-radius: 0;
    border-top-right-radius: 0;
}
.panel-footer {
    background-color: rgba(245, 245, 220, .5);
    border-color: rgba(245, 245, 220, .4);
}
.panel {
    box-shadow: 0px 3px 3px 0px #ddd;
}
a.navbar-brand, .panel-title {
    font-weight: bolder;
}
Now that we have all the files added, let's create the views so we can render each of those templates.
In poll/views.py, we're going to add four view functions. There will be one for each of our templates. For each view function, we'll return the corresponding template we created along with an empty context dictionary for future use.
# views.py
from django.shortcuts import render

def home(request):
    context = {}
    return render(request, 'poll/home.html', context)

def create(request):
    context = {}
    return render(request, 'poll/create.html', context)

def results(request):
    context = {}
    return render(request, 'poll/results.html', context)

def vote(request):
    context = {}
    return render(request, 'poll/vote.html', context)
Now we need to create some URLs and connect them to our views. We could create a separate urls.py in our polls app, but since this app is so simple, I'll put the URLs in the main urls.py for the entire project.
First we need to import the views. Then we can create paths for each one and give them names. The names will be the same as the templates.
# urls.py
from django.contrib import admin
from django.urls import path

from poll import views as poll_views

urlpatterns = [
    path('admin/', admin.site.urls),
    path('', poll_views.home, name='home'),
    path('create/', poll_views.create, name='create'),
    path('results/', poll_views.results, name='results'),
    path('vote/', poll_views.vote, name='vote'),
]
Now that we have the URLs, we should be able to run our app and view each URL and the template should appear.
python manage.py runserver
And now if you open up your browser, you should be able to navigate to the four endpoints we created and view all the templates. Obviously nothing will work yet, so we'll work on that soon.
Let's go ahead and update the links in the header section now. If we go into the base.html template, we can add the actual URLs for the home page and the create poll page.
<!-- base.html -->
<div class="navbar-header">
    <button type="button" class="navbar-toggle" data-toggle="collapse" data-target=".navbar-ex1-collapse">
        <span class="sr-only">Toggle navigation</span>
        <span class="icon-bar"></span>
        <span class="icon-bar"></span>
        <span class="icon-bar"></span>
    </button>
    <a class="navbar-brand" href="{% url 'home' %}">Poll Application</a>
</div>

<!-- Collect the nav links, forms, and other content for toggling -->
<div class="collapse navbar-collapse navbar-ex1-collapse">
    <ul class="nav navbar-nav">
        <li><a href="{% url 'home' %}">Home</a></li>
        <li><a href="{% url 'create' %}">Create</a></li>
    </ul>
</div><!-- /.navbar-collapse -->
Models
So now that we have the beginning of the views up and running, let's think about what we need for our models. We can figure out the fields we need for our app by looking at the views where users are expended to submit something. We have the create and vote views. In the create view, we can supply a poll name and three options, so we'll need those in our model. On the vote page, our user can supply one value, the option they are voting for.
Because we have a fixed number of options for each poll, our model can be extremely simple. We can create one model to hold all the information we need. If we had a dynamic number of options, then having a separate table would work better.
Creating this model is very simple. Open up the models.py file and add the simple data model.
# models.py
from django.db import models

class Poll(models.Model):
    question = models.TextField()
    option_one = models.CharField(max_length=30)
    option_two = models.CharField(max_length=30)
    option_three = models.CharField(max_length=30)
    option_one_count = models.IntegerField(default=0)
    option_two_count = models.IntegerField(default=0)
    option_three_count = models.IntegerField(default=0)
The question field will be a TextField to allow for long questions to be added to the database. The options, however, will be restricted to 30 characters because we want to keep them simple for the votes. And each of the count fields for the options will default to zero since no one would have voted for them yet.
So with the model defined, we can go ahead and makemigrations and then migrate.
python manage.py makemigrations
python manage.py migrate
Now the model has been made into a table in our database and we can move back to the views again to get our poll app working.
Creating ModelForms
Even though our model is very simple and we could work with form data directly, we don't need to because the ModelForms class is available in Django. A model form will simply take an existing model in your app and create a form based off it. To create one, we first need to create a forms.py file.
Next, we need to import both ModelForm from Django and our model from our models.py file.
# forms.py
from django.forms import ModelForm
from .models import Poll
And then creating the form itself is very simple, because we don't need to change any of the default settings. We just need to list the fields we want to use, which are the question field and the three option fields. Let's create that now.
# forms.py
class CreatePollForm(ModelForm):
    class Meta:
        model = Poll
        fields = ['question', 'option_one', 'option_two', 'option_three']
Creating a New Poll
And now that we have the model form, let's go over the create view and start adding the functionality we need. Let's import the model form we just created first.
# views.py
from .forms import CreatePollForm
Next, inside of our forms.py, we need to create the form for both GET requests and POST requests and pass it to the context dictionary so we can use it in our template. We need to handle both request methods because we want to be able to both show the form and process it.
# views.py
def create(request):
    if request.method == 'POST':
        form = CreatePollForm(request.POST)
    else:
        form = CreatePollForm()

    context = {'form' : form}
    return render(request, 'poll/create.html', context)
So we add the if-else statement that checks if a POST request was called. In both cases of the statement we instantiate the form, but in the case of POST, we also pass it the POST data, because that is the user data that needs to be validated.
Next, we need to update our create.html template to use the form. And for the textarea and inputs, we will replace them we our Django form. Since we already have our template built, we want to render the fields manually instead of letting Django generate the entire form for us.
<!-- create.html -->
{% extends "poll/base.html" %}

{% block title %}Create Poll{% endblock %}

{% block main %}
<div class="row">
    <div class="col-lg-8 col-lg-offset-2">
        <div class="panel panel-default">
            <div class="panel-heading">
                <h3 class="panel-title">Create A New Poll</h3>
            </div>

            <form method="POST">
                <div class="panel-body">
                    <div class="row">
                        <div class="col-lg-12">
                            <div class="form-group">
                                <label for="question">Enter Poll Question</label>
                                {{ form.question }}
                            </div>
                        </div>
                    </div>

                    <div class="row">
                        <div class="col-lg-4">
                            <div class="form-group">
                                <label for="option1">Option 1</label>
                                {{ form.option_one }}
                            </div>
                        </div>
                        <div class="col-lg-4">
                            <div class="form-group">
                                <label for="option2">Option 2</label>
                                {{ form.option_two }}
                            </div>
                        </div>
                        <div class="col-lg-4">
                            <div class="form-group">
                                <label for="option3">Option 3</label>
                                {{ form.option_three }}
                            </div>
                        </div>
                    </div>

                    <div class="row">
                        <hr />
                        <div class="col-lg-4">
                            <button type="submit" class="btn btn-info">Submit</button>
                        </div>
                    </div>
                </div>
            </form>

        </div>
    </div>
</div>
{% endblock %}
Now that we have that, let's start our server and take a look at the create endpoint to make sure everything is working.
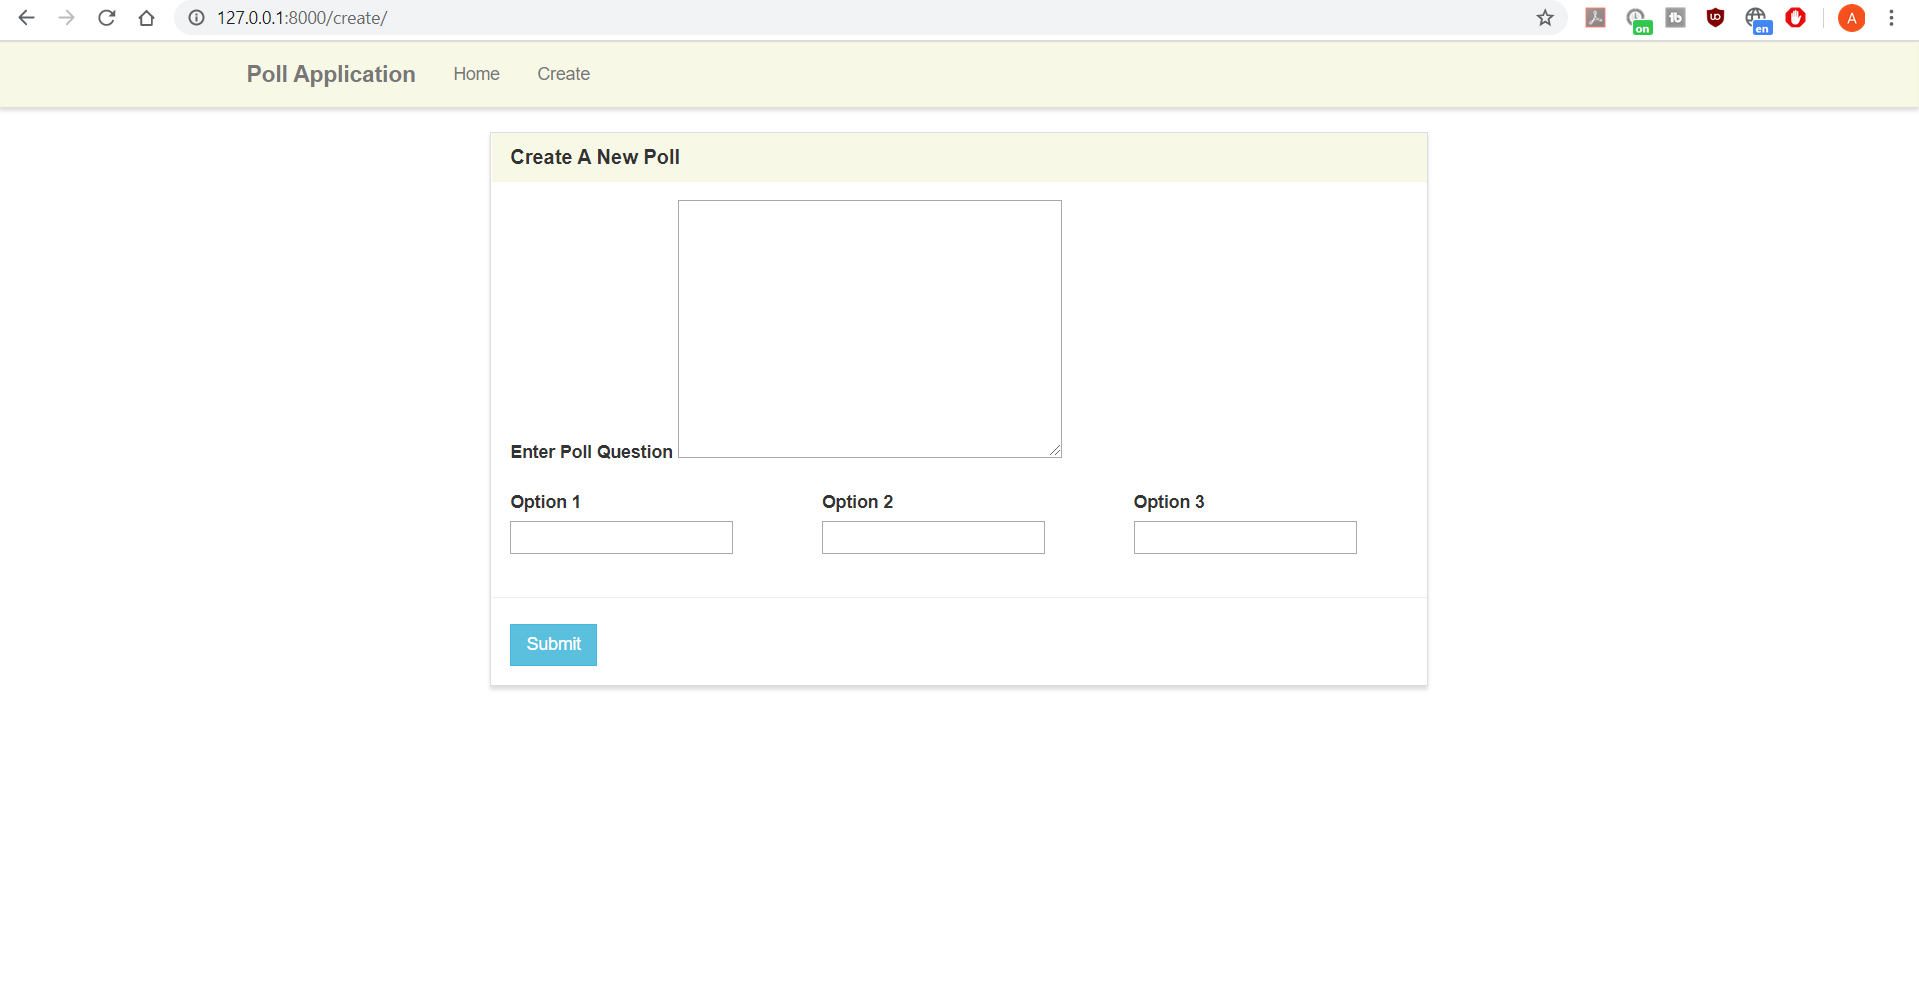
We see the form, but has changed slightly. The fields no longer have the style of our page. So to fix that, we need to add the classes we're interested in. We are missing the form-control class.
There are a couple of ways to handle this. We could directly define each widget our fields are using to include the class. This isn't difficult, but it's a lot of code to accomplish something very simple. So instead, we'll use a library called django-widget-tweaks that will do this for us.
The way it works is it creates a new template tag for us. In this template tag we will pass both the form field and any options we want to appear on the HTML itself, like the class.
Let's install it and add it to our available apps.
pip install django-widget-tweaks
# settings.py
INSTALLED_APPS = [
    'django.contrib.admin',
    'django.contrib.auth',
    'django.contrib.contenttypes',
    'django.contrib.sessions',
    'django.contrib.messages',
    'django.contrib.staticfiles',
    'poll',
    'widget_tweaks',
]
And then to use it in the template, we use the {% render_field %} template after loading it. An example to adding the style would be {% render_field form.question. class="form-control" %}
Load it in the template first.
<!-- create.html -->
{% extends "poll/base.html" %}
{% load widget_tweaks %}

{% block title %}Create Poll{% endblock %}
To use widget_tweaks, use will call the render_field function. We need to pass both the form field along with any HTML attributes we want to add to the generated HTML.
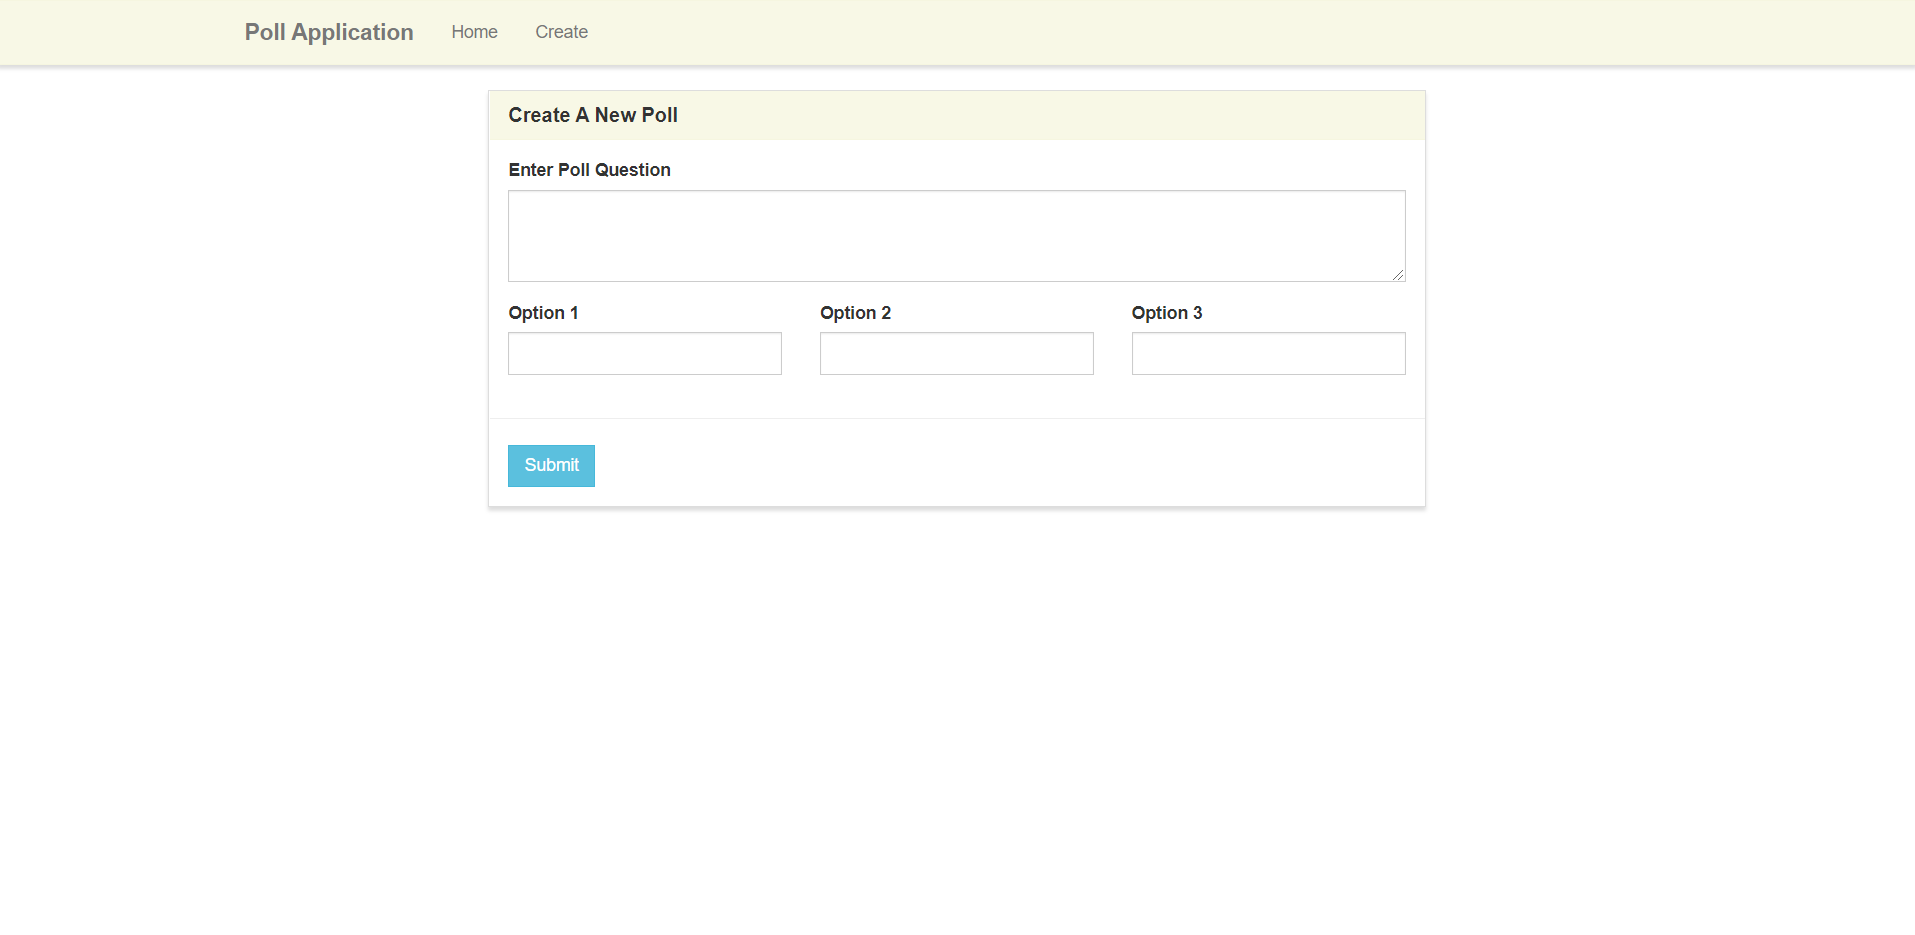
After adding render_field, we can refersh the create page, and we should see that the style of the fields has returned.
<!-- create.html -->
<div class="row">
    <div class="col-lg-12">
        <div class="form-group">
            <label for="question">Enter Poll Question</label>
            {% render_field form.question rows="3" class="form-control" %}
        </div>
    </div>
</div>

<div class="row">
    <div class="col-lg-4">
        <div class="form-group">
            <label for="option1">Option 1</label>
            {% render_field form.option_one class="form-control" %}
        </div>
    </div>
    <div class="col-lg-4">
        <div class="form-group">
            <label for="option2">Option 2</label>
            {% render_field form.option_two class="form-control" %}
        </div>
    </div>
    <div class="col-lg-4">
        <div class="form-group">
            <label for="option3">Option 3</label>
            {% render_field form.option_three class="form-control" %}
        </div>
    </div>
</div>

<div class="row">
    <hr />
    <div class="col-lg-4">
        <button type="submit" class="btn btn-info">Submit</button>
    </div>
</div>
Before we can actually submit the form, we need to add in the CSRF token. We can add this anywhere in the form, so let's just put it directly underneath the form tag. The csrf_token is needed so Django knows the form was submitted from the page generated by our app and not some outside process.
<!-- create.html -->
<form method="POST">
{% csrf_token %}
Now that we have our form displaying correctly, let's try to fill out the form and create a new poll.
When we go to submit the form, you should see that the page just reloads. Well, what happened? The form was successfully submitted but our app didn't do anything with the data.
With the form frontend working, let's go back into our view to complete the form.
Inside of the if request.method == POST block, we need to check if the submitted form is valid. If it's valid, then we need to save the data. If it's invalid, we can pass the form data back to the template so the user can try again.
# views.py
form = CreatePollForm(request.POST)

if form.is_valid():
    form.save()
After calling .is_valid on a form, we can simply call form.save() because we are using a modelform. Django will go ahead and take the form data passed from the form and save it to the database for us. Without modelforms, we would have to do this ourselves.
After saving the data successfully, we want to send the user elsewhere. A good place for a user to go after creating a poll is the home page. For that, we'll need the redirect function which we need to import. And then we can call it after saving the form.
# views.py
from django.shortcuts import redirect
#views.py
form.save()

return redirect('home')
So we should have everything we need for a working case. Try filling out the form and then submitting it.
You should see that you were redirect to the home page. You can also look into of the database and see that everything was added.
sqlite3 db.sqlite3 'select * from poll_poll'
Let's try an error case. Let's try creating a poll with no question. We see that the client side catches any empty fields we try to submit. Since our form is simple, we don't need to worry about any other error cases, but in a real situation, you would still think about how to handle error cases caused by unexpected failures or malciious users.
Let's add a couple of more questions and then check the database.
sqlite3 db.sqlite3 'select * from poll_poll'

That completes our create view. A good view to work on next is our home page, because it dislays a list of polls that are able to be voted on.
Home View
So let's go to our home view. To display the list of polls, the first thing we need to do is gather them all from the database. To do that, we can perform a simple query.
We need to import the model first though.
# views.py
from .models import Poll
Next let's add the query into the model itself.
# views.py
def home(request):
    polls = Poll.objects.all()

    context = {
        'polls' : poll
    }
    return render(request, 'poll/home.html', context)
Which is pretty simple. It will give us all the polls available.
We don't need to do anything with the data before passing it to the template, so let's just add it to our context now.
Inside of our home.html, we need to update the place holders with the actual data. Since all the templates I work on tend to have at least two placeholders, what I do is a place a loop around one to generate the elements for the items and the database, and I leave the rest of the placeholders so I can make sure everything is working.
Let's put a loop around the first placeholder and update the values witih those returned in the poll objects. Each poll and its links will be contained in the list-group-items, so we need to put the loop around that.
<!-- home.html -->
{% for poll in polls %}
<li class="list-group-item">
<strong>{{ poll.question }}</strong>
<span class="pull-right">
<a href="{% url 'vote' %}" class="btn btn-info btn-xs">Vote</a>
<a href="{% url 'results' %}" class="btn btn-default btn-xs">View Results</a>
</span>
</li>
{% endfor %}
We can't update the vote and results links with the IDs of the polls yet because the URLs aren't set yet, so we'll have to come back to this later.
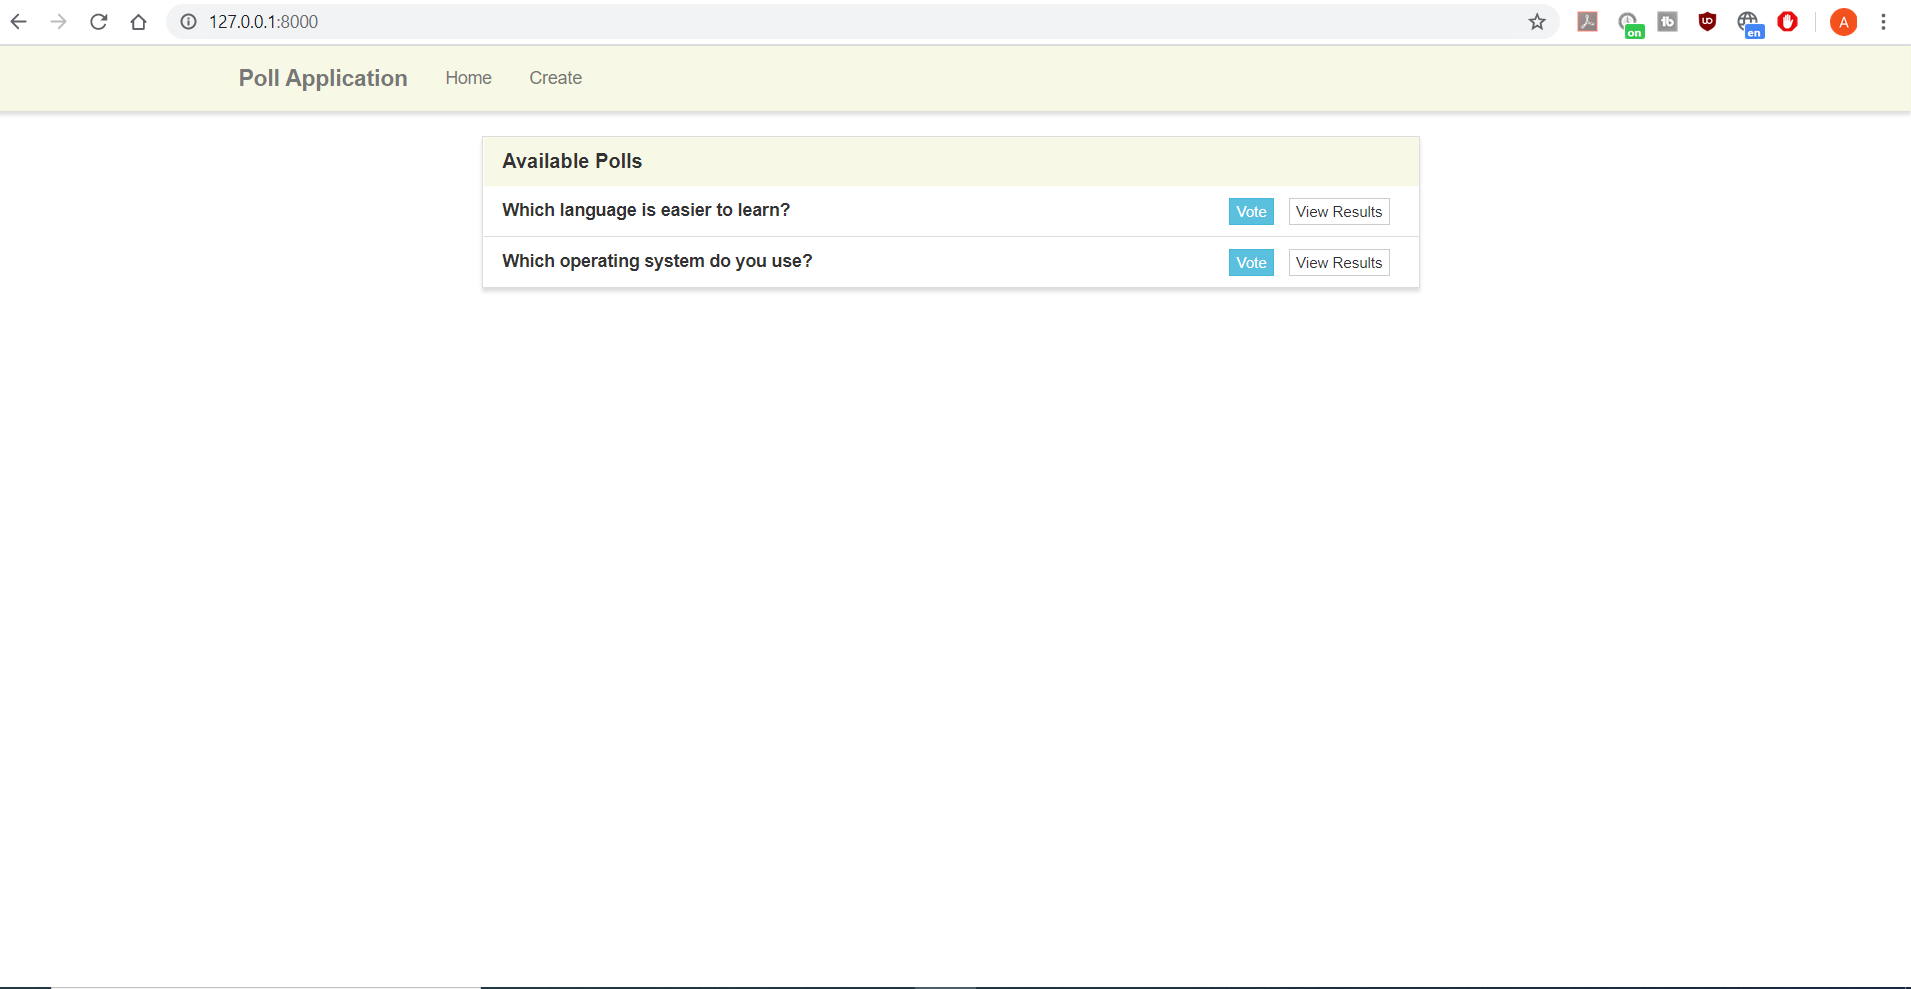
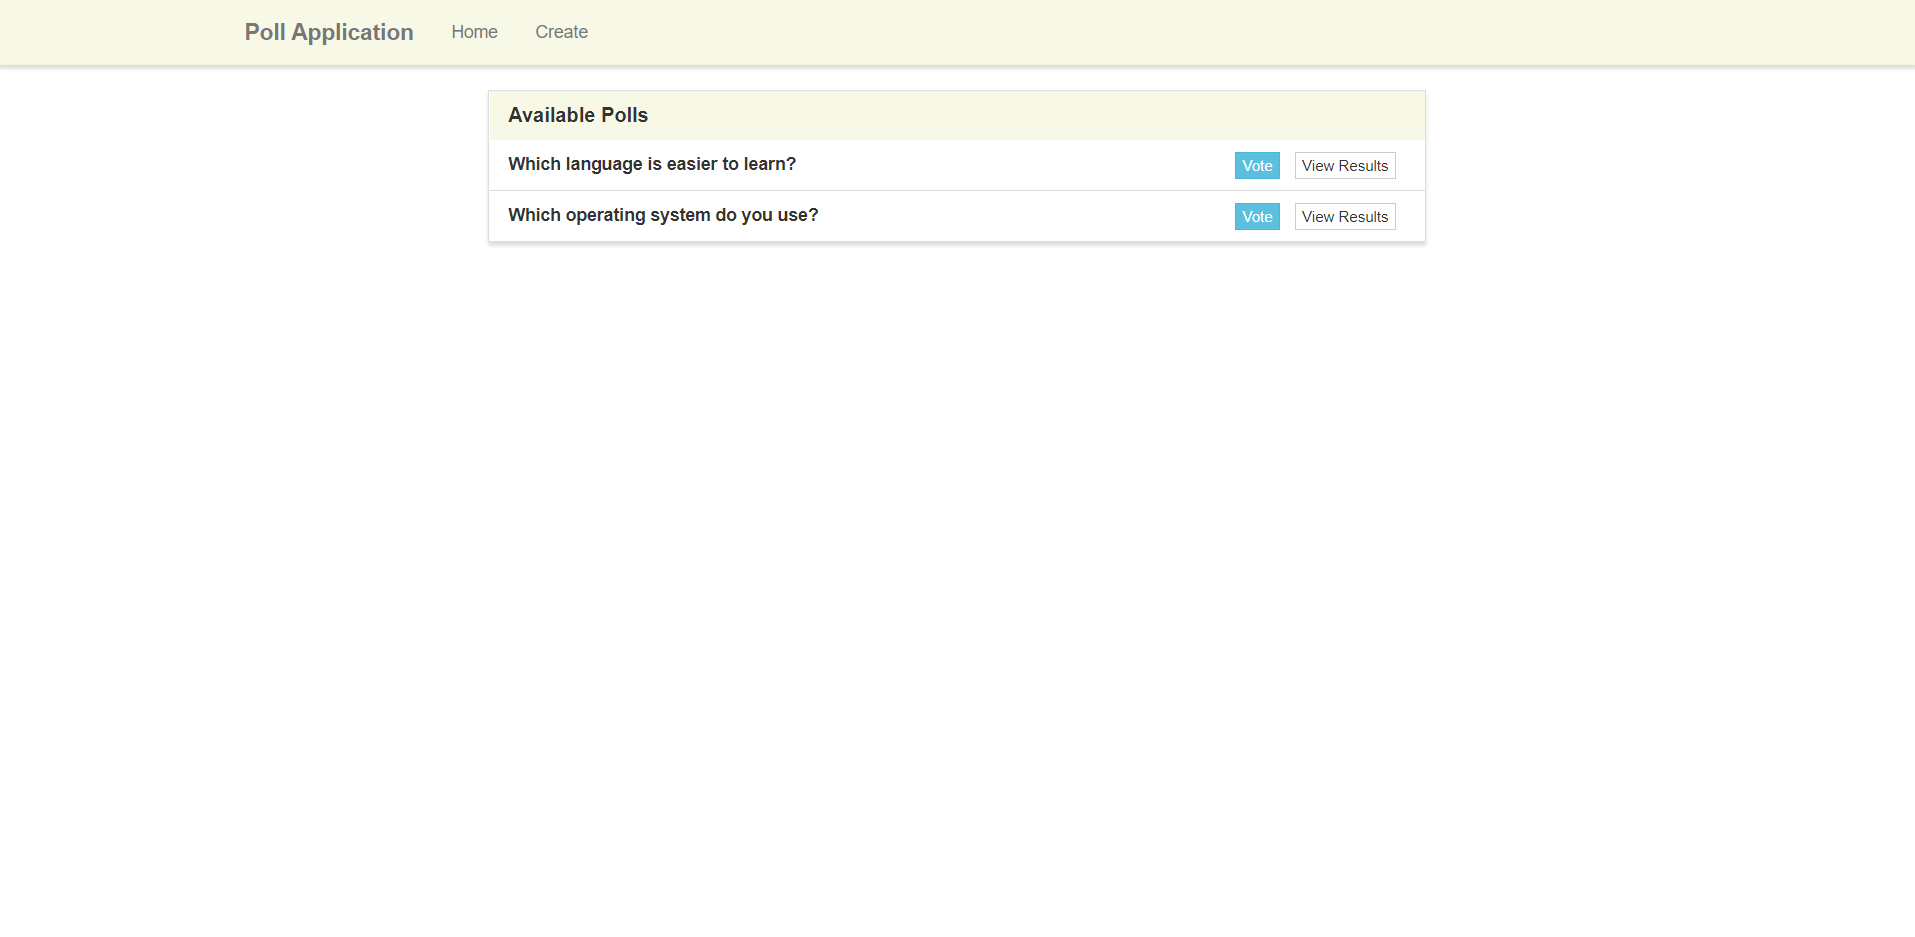
When we view our app, we should see the poll we added along with the other placeholder.
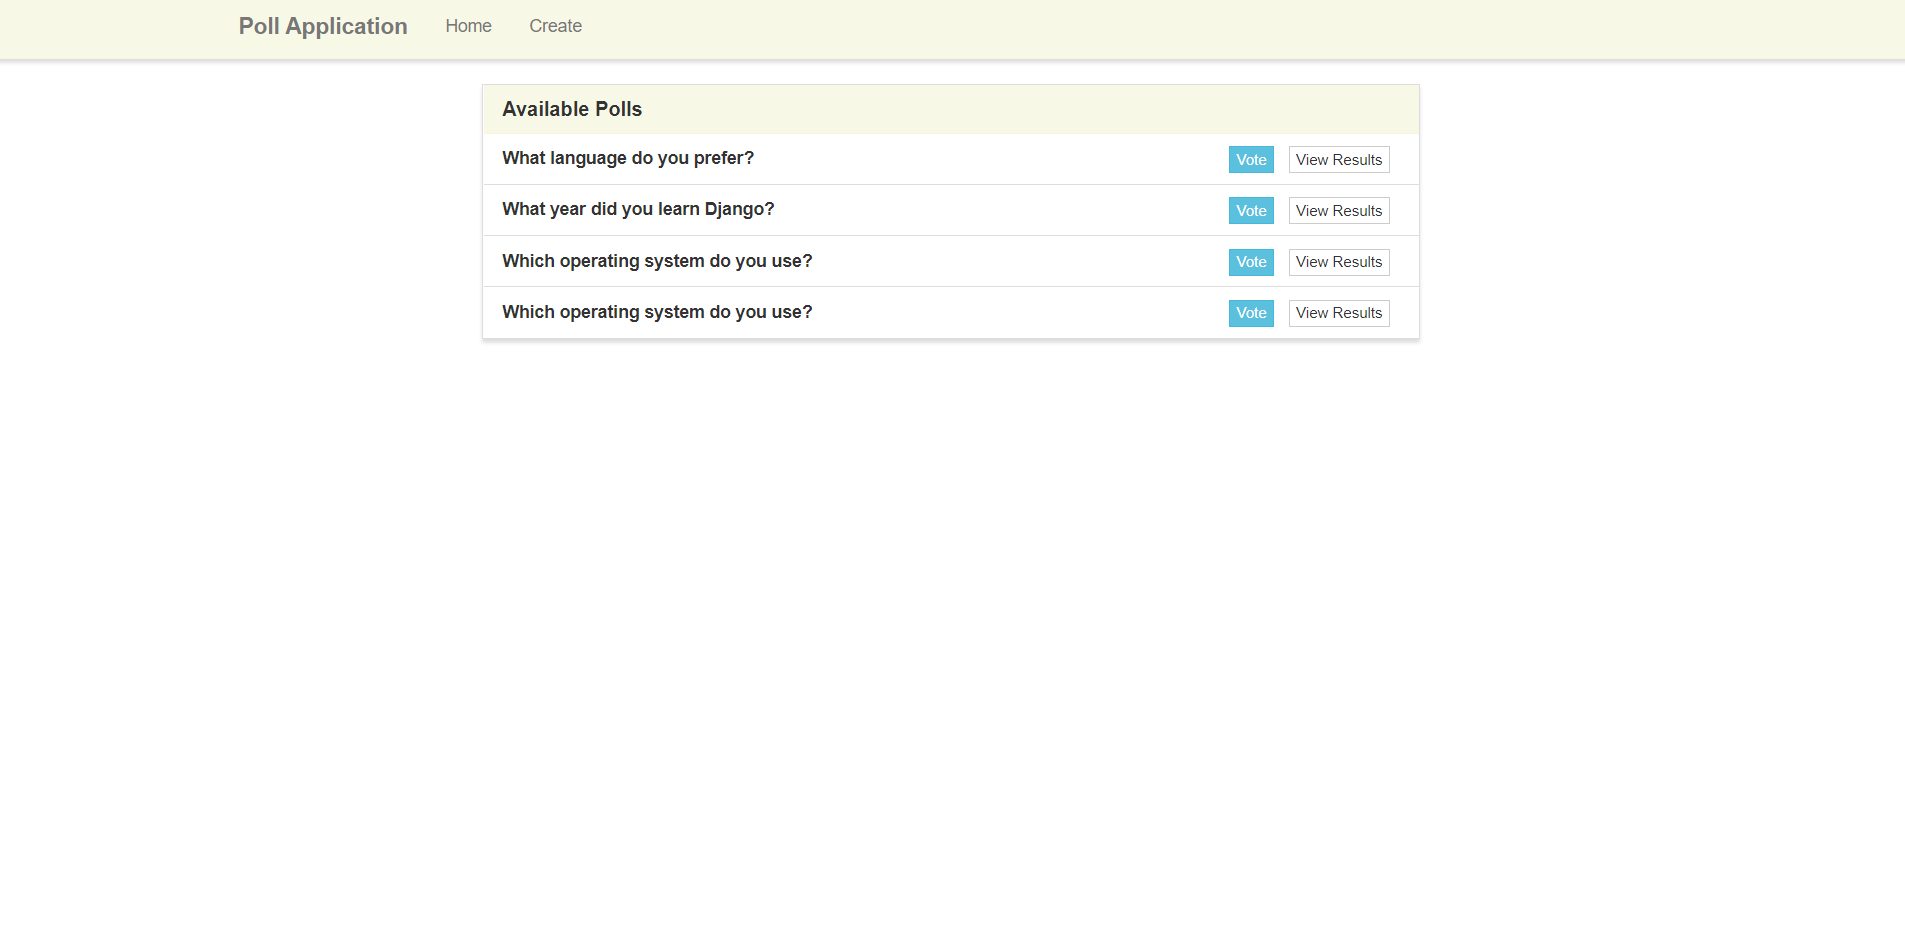
Let's try adding a new poll. If it works, then we when redirect to the home page, we'll see the new poll instantly.
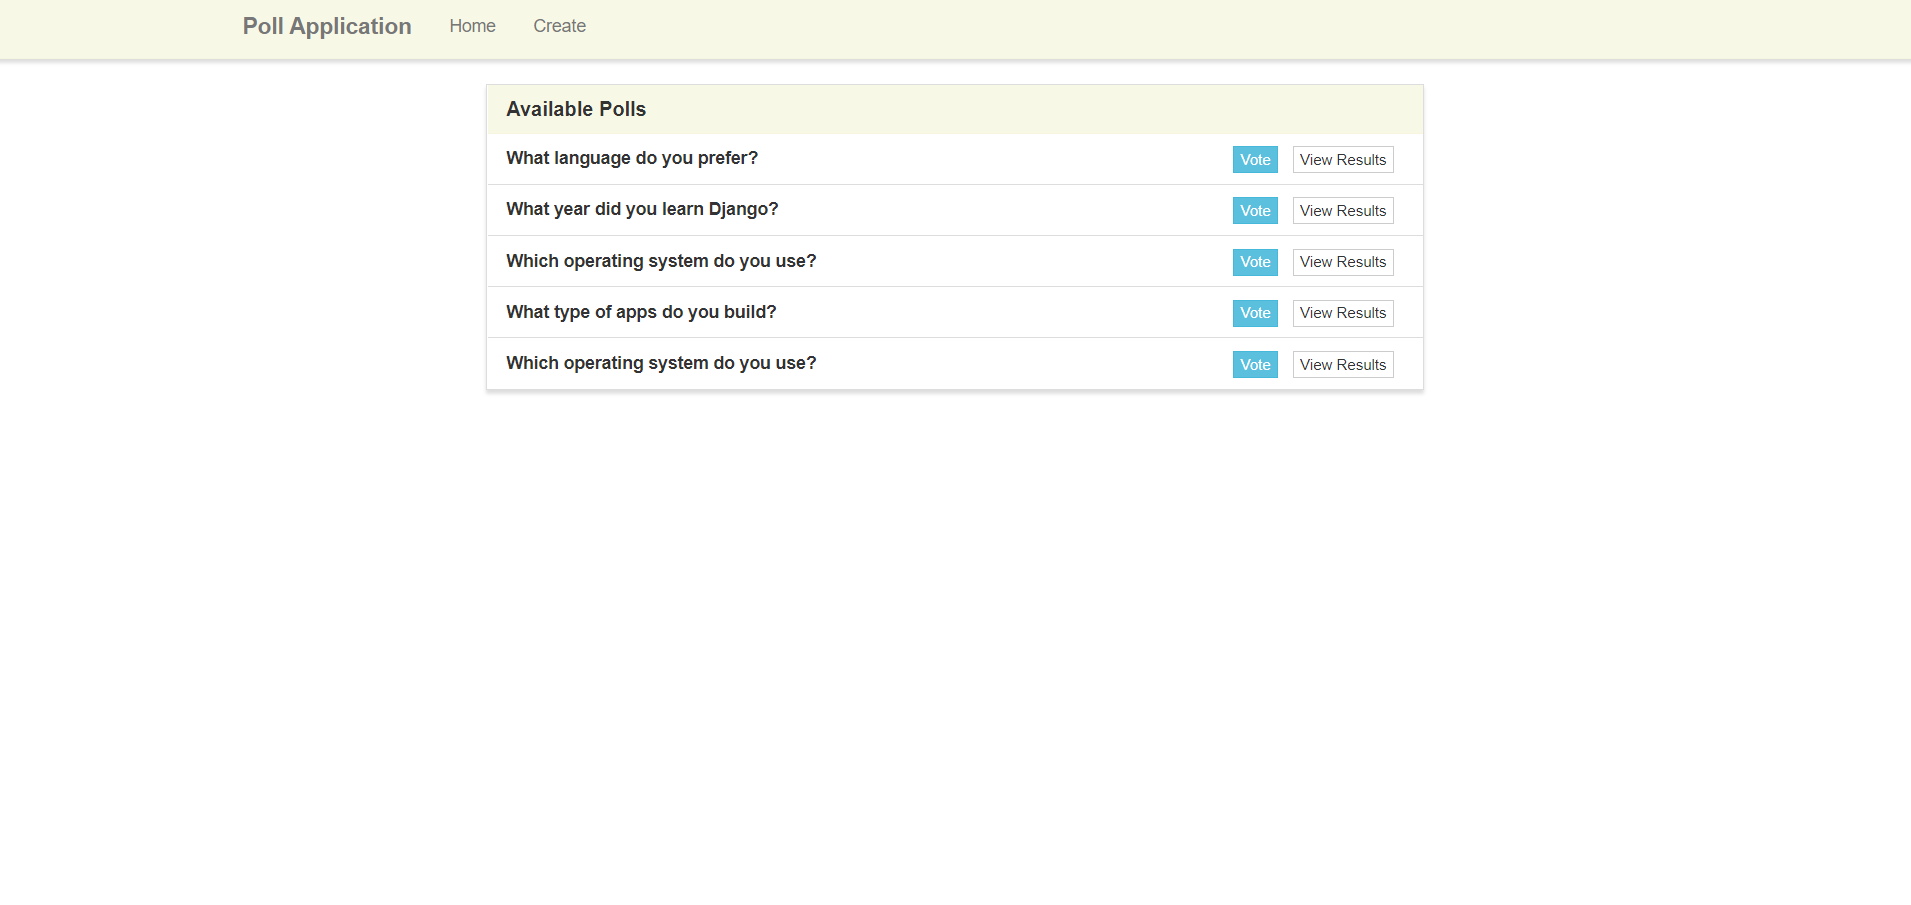
Remove the other placeholder in the template so you are only left with the polls from the database.
We have two views left: the vote page and the results page. Let's get the URLs working so we can work on them.
Since the vote page and the results page only work in the context of a single poll, we need to pass the ID to the views. Let's update our urls.py file to reflect this.
We first need to add
# urls.py
urlpatterns = [
    path('admin/', admin.site.urls),
    path('', poll_views.home, name='home'),
    path('create/', poll_views.create, name='create'),
    path('results/<poll_id>/', poll_views.results, name='results'),
    path('vote/<poll_id>/', poll_views.vote, name='vote'),
]
With those two new paths, we can add the ID inside of the create.html.
<!-- vote.html -->
<ul class="list-group">
{% for poll in polls %}
<li class="list-group-item">
<strong>{{ poll.question }}</strong>
<span class="pull-right">
<a href="{% url 'vote' poll.id %}" class="btn btn-info btn-xs">Vote</a>
<a href="{% url 'results' poll.id %}" class="btn btn-default btn-xs">View Results</a>
</span>
</li>
{% endfor %}
</ul>
And then inside of views.py, the two functions need to have poll_id as a parameter.
# views.py
def results(request, poll_id):
    context = {}
    return render(request, 'poll/results.html', context)

def vote(request, poll_id):
    context = {}
    return render(request, 'poll/vote.html', context)
Now that our URLs and views are set up for the results and vote views, we can go back to the url tag in our home template and add the IDs.
And then if we go back to the home page, we should be able to click the vote and results links.
The links will work, but we will see the placeholders again, so let's work on that. We can start with the vote view since it's a little more complicated.
Vote View
Our end goal for this page is to display the poll question along with the options and let the user submit the form. We could potentially create another Django form for this, but let me show you how to do it more directly. This works because the data submitted from here won't be saved as-is to the database. Instead the submitted option will be incremented in the database.
So in our view, we need to query for the specific poll in query using the poll ID, and then we can pass it to the template through the context.
# views.py
def vote(request, poll_id):
    poll = Poll.objects.get(pk=poll_id)

    context = {
        'poll' : poll
    }
    return render(request, 'poll/vote.html', context)
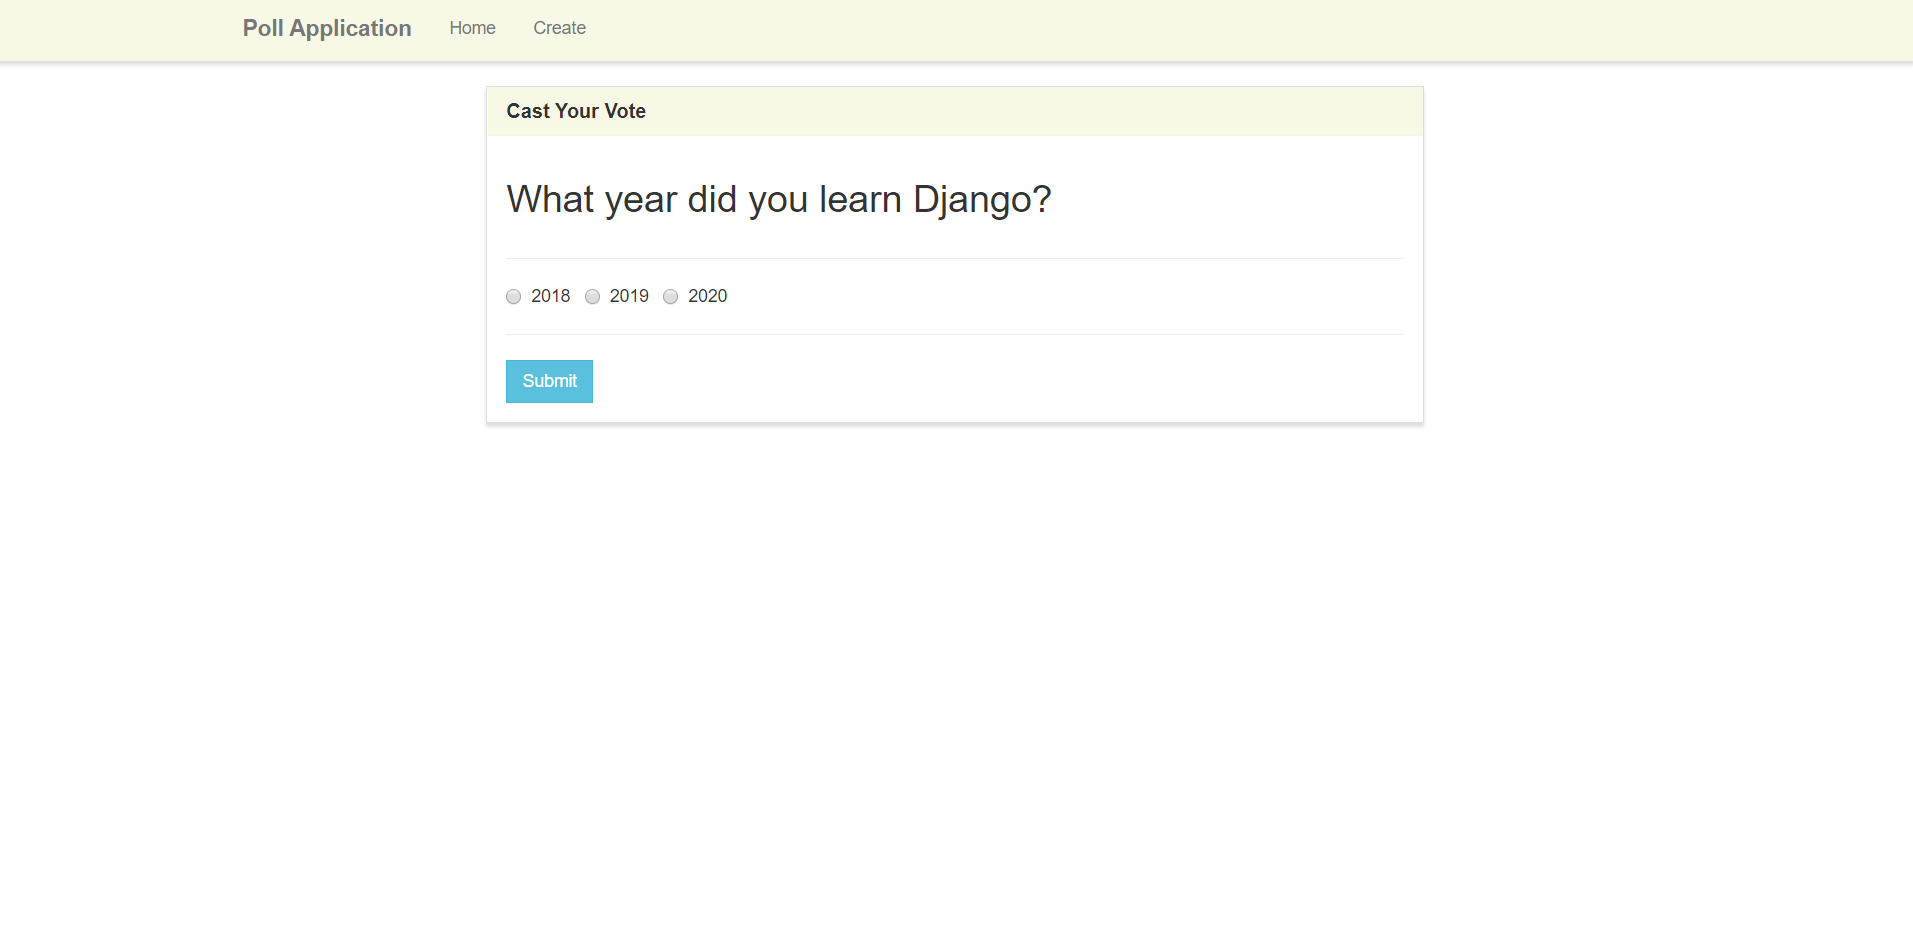
And then inside of the template, we can update the four values we need: the question and options one through three. While we're at it, let's go ahead and add the create form action and the csrf_token.
<!-- vote.html -->
<div class="panel-body">
<div class="row">
<div class="col-lg-12">
<h2>{{ poll.question }}</h2>
</div>
</div>
<div class="row">
<div class="col-lg-12">
<hr />
<form method="POST">
{% csrf_token %}
<div class="form-group">
<div class="radio">
<label>
<input type="radio" name="poll" value="option1">
{{ poll.option_one }}
</label>
<label>
<input type="radio" name="poll" value="option2">
{{ poll.option_two }}
</label>
<label>
<input type="radio" name="poll" value="option3">
{{ poll.option_three }}
</label>
</div>
</div>
<hr />
<button type="submit" class="btn btn-info">
Submit
</button>
</form>
</div>
</div>
</div>
Now when we redirect, we see the question and options are displaying.
Let's go back to the route so we can add in the processing.
We need to handle a POST request, so let's add the if block.
In it, we need to get the POST data, which can be accessed through request.POST. Since the name of our options is poll, we can get the value from request.POST['poll']. We can print this to the console to see what we get:
# views.py
def vote(request, poll_id):
    poll = Poll.objects.get(pk=poll_id)

    if request.method == 'POST':
        print(request.POST['poll'])

    context = {
        'poll' : poll
    }
    return render(request, 'poll/vote.html', context)
When you pick an option and submit, you'll see either option1, option2, or option3 on the console.

Now we need to take these values, and use them to update the data in the database to add one vote to the poll count for the selected option. We can do this with if-elif blocks. If none of the options match, something has gone wrong, so we can return a 400 error response. For this we have to import HttpResponse as well.
Inside of each condition, we can increment the existing value in the database by one.
After the if statement, we need to save the poll with the new results, which can be done with poll.save()
# views.py
if request.method == 'POST':

    selected_option = request.POST['poll']
    if selected_option == 'option1':
        poll.option_one_count += 1
    elif selected_option == 'option2':
        poll.option_two_count += 1
    elif selected_option == 'option3':
        poll.option_three_count += 1
    else:
        return HttpResponse(400, 'Invalid form option')

    poll.save()
Now that we have all the code for saving, try voting a few times. Since the poll will just return to the vote page, it will be easy to do this.
After voting, check the database to see if the results are saving properly.
sqlite3 db.sqlite3 'select * from poll_poll'
You should see the numbers have changed from all zeros to whatever you voted for.

Since we know that the reslts are working, let's redirect the user to the results page and then we can work on the last view in your app.
# views.py
poll.save()

return redirect('results', poll.id)
Results Page
The results page will be easy to handle. We just need to pass the poll object to the template and then we can display the actual values from the database. Inside of the results function, add the query for the poll and put it in the context.
# views.py
def results(request, poll_id):
    poll = Poll.objects.get(pk=poll_id)

    context = {
        'poll' : poll
    }
    return render(request, 'poll/results.html', context)
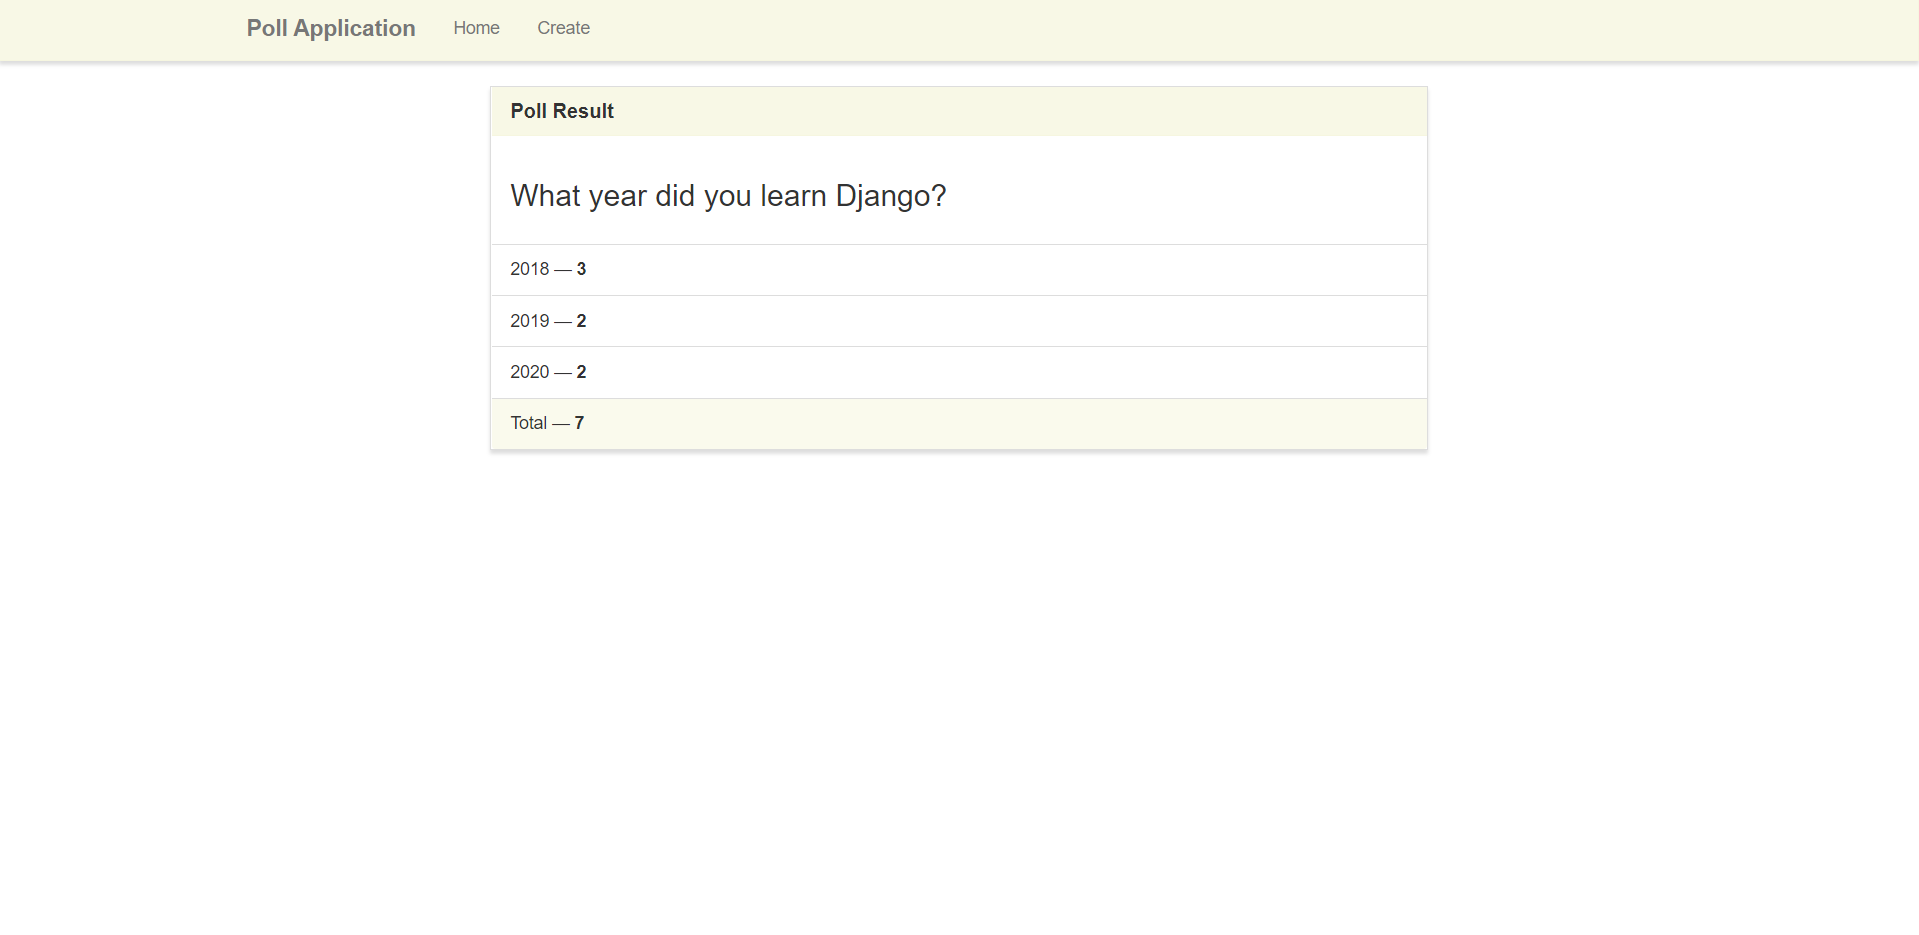
Inside of the template, we simply need to replace the placeholders with the actual values from the poll object.
You'll see we have one thing that doesn't exist directly in our object: the total. To get this, we can add a field to our model that is the sum of the three options.
# models.py
class Poll(models.Model):
    question = models.TextField()
    option_one = models.CharField(max_length=30)
    option_two = models.CharField(max_length=30)
    option_three = models.CharField(max_length=30)
    option_one_count = models.IntegerField(default=0)
    option_two_count = models.IntegerField(default=0)
    option_three_count = models.IntegerField(default=0)

    def total(self):
        return self.option_one_count + self.option_two_count + self.option_three_count
Then we can call poll.total to see the total count.
So now, our template will look like this:
<!-- results.html -->
<div class="panel-body">
<h3>{{ poll.question }}</h3>
</div>
<ul class="list-group">
<li class="list-group-item">{{ poll.option_one }} — <strong>{{ poll.option_one_count }}</strong></li>
<li class="list-group-item">{{ poll.option_two }} — <strong>{{ poll.option_two_count }}</strong></li>
<li class="list-group-item">{{ poll.option_three }} — <strong>{{ poll.option_three_count }}</strong></li>
</ul>
<div class="panel-footer">
Total — <strong>{{ poll.total }}</strong>
</div>
And now, the results page will be correct.
When you go back to the home page, you should be able to use all the links and functionality to create, vote, and view polls.
Conclusion
And with that, we have completed our app! Even though this app is simple, we still needed to understand and use the following parts of Django:
- Templates
- Views
- URLs
- Models
- Model forms
- POST request processing
So by understanding how to build a simple poll app like this, it will help you when you go to build something much more complicated.